...
Moisture Vapor Barrier

Eliminating Moisture Problems Before Epoxy or Urethane

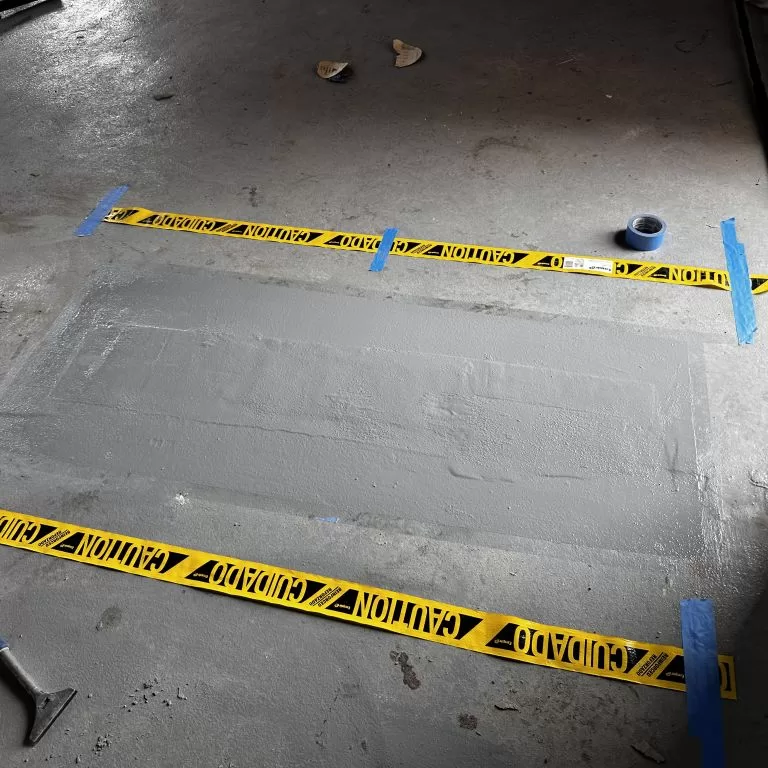
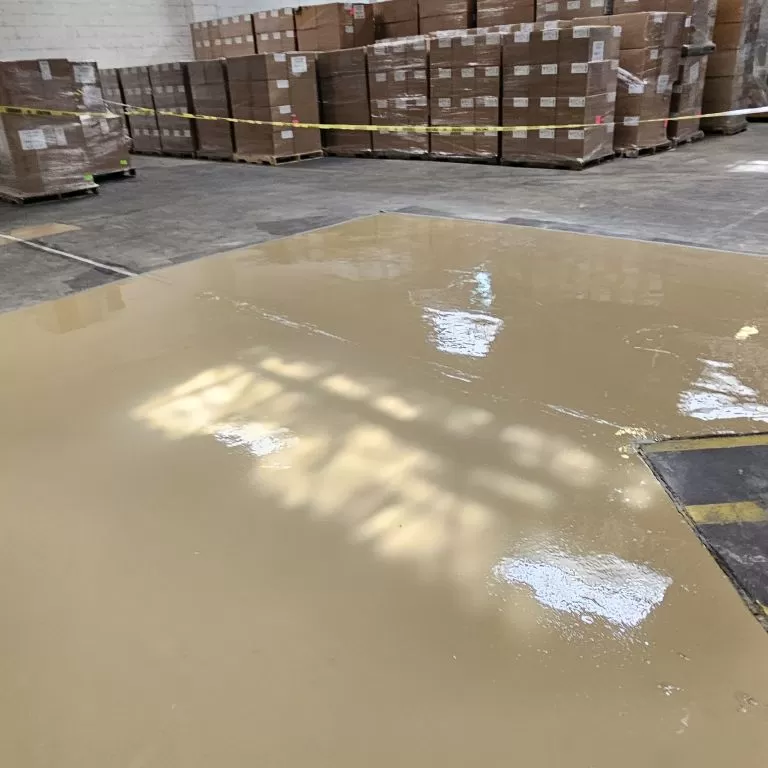
You’ve made the decision. The budget is allocated, the downtime is scheduled, and the vision for a seamless, high-performance floor is clear. The crew arrives on Monday morning, ready to transform your space with a pristine epoxy or urethane coating. By Wednesday, the panic sets in. Blistering. Cloudy discoloration. A complete loss of adhesion. The project is ruined, and the culprit wasn’t the product or the applicator. It was the invisible vapor seeping up from the slab beneath, a problem that should have been identified and eliminated weeks prior.

This isn’t a scare tactic; it’s a daily reality in flooring failures. Moisture doesn’t negotiate. It destroys. Preventing it isn’t just a step in the process; it’s the entire foundation of a successful installation. Here’s how to ensure moisture never derails your project.

Moisture Vapor Barrier

Why Concrete Sweats (And Why It Matters)

Concrete might look solid, but it’s more like a hard sponge. It’s porous. It holds water from its initial mix and constantly wicks moisture from the ground below. When you seal the top with an impermeable epoxy or urethane coating, you trap that moisture. With nowhere to go, vapor pressure builds until it forcefully escapes, delaminating your brand-new floor from the slab. The result isn’t just ugly. It’s a costly, time-consuming failure that halts operations.

The goal isn’t to find bone-dry concrete that’s often unrealistic. The goal is to measure the moisture emission rate accurately and choose a flooring system or moisture mitigation strategy designed to handle that specific level.

Moisture Vapor Barrier

The Three Non-Negotiable Tests (Skip One at Your Peril)

Guessing is for games, not for industrial flooring. Relying on a “it feels dry” assessment guarantees failure. Modern science gives us definitive answers. These three tests form the mandatory diagnostic checklist.

The Relative Humidity Probe Test: This is the gold standard. It involves drilling a small hole into the concrete at a specified depth (usually 40% of the slab’s thickness if it’s on-grade) and inserting a sensor. It measures the relative humidity within the slab, not just at the surface. This tells you the true, long-term moisture condition the coating will face. Never proceed without this data.

The Calcium Chloride Vapor Emission Test (MVER): This older method measures the pounds of moisture vapor emitted from a thousand square feet over 24 hours. It’s a surface test and can be influenced by room temperature and humidity. It’s still widely specified, but the smart move is to use it in conjunction with the RH probe test for a complete picture. One checks the reservoir, the other checks the flow.

A Simple Plastic Sheet Test: It’s low-tech but brilliantly revealing. Tape a clear, airtight piece of plastic (about 2’ x 2’) tightly to the cleaned concrete. Leave it for at least 16 hours, preferably 24. Afterward, peel it back and look. Beads of moisture on the underside of the plastic or a dark, damp circle on the slab? That’s a visual red flag confirming significant vapor drive. It’s a qualitative pass/fail that anyone can do early in the planning stages.

Mitigation: Your Arsenal Against Moisture

Once you have your numbers, you match them with a solution. There is no one-size-fits-all answer, only the right system for your specific conditions.

Topical Moisture Vapor Barrier: These are high-build epoxy primers or specially formulated sealers designed to block moderate levels of vapor transmission. Think of them as a heavy-duty raincoat for your slab. They’re effective for many common situations but have their limits on high-moisture slabs.

Vapor-Retarding Toppings: For more severe problems, a sacrificial layer is the answer. This involves applying a cementitious or polymer-modified overlay that’s highly resistant to moisture. The coating system is then installed on top of this stable, dry barrier. It adds a step but absolutely prevents vapor from reaching the final floor.

Phosphate Conversion Coatings: This is a chemical approach. The treatment reacts with the free lime and moisture in the concrete to form stable, crystalline structures within the pores, effectively blocking vapor pathways. It’s a permanent chemical change to the slab itself.

The critical mistake is letting the flooring contractor choose the mitigation after the coating is selected. The process must be reversed. Test first. Get the data. Then, and only then, select a combined mitigation-and-coating system certified to perform under those exact conditions. Anything else is just hope.

Moisture Vapor Barrier
The Bottom Line on a Dry Slab

Moisture-related flooring failure is almost always a preventable waste. Prevention hinges on respecting the science, investing in proper testing before a single gallon of coating is ordered, and pairing the results with a designed solution, not a guess. It requires a contractor who prioritizes long-term performance over a fast sale. The upfront investment in diagnostics and correct mitigation is trivial compared to the catastrophic cost and disruption of a failed floor installation.

This relentless focus on the foundation of what happens beneath the surface is what separates a lasting asset from a recurring problem. At High Performance Systems, it’s the non-negotiable first step in every project we undertake because the best floor is one you never have to think about again.

800-928-7220